Constructive Color Change
by Jen White
Don’t get boxed in by the colors of your papers and elements. Constructively change their colors with a quick Hue/Saturation Adjustment layer.
Note: This tutorial was written for Adobe Photoshop and Photoshop Elements.
Step One: Open an Element
Any digital item can undergo a color change. Try this tutorial with a digital element.
- Open an element (File > Open).
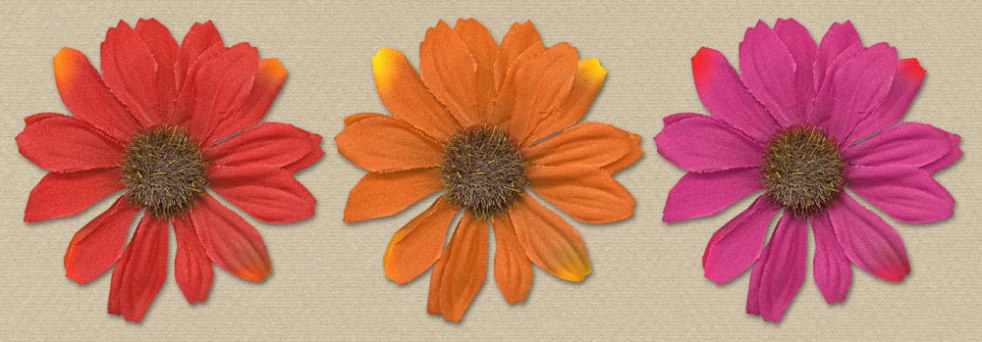
I will be demonstrating this technique with a flower from Nature’s Playground by KimB Designs. Click here to download this flower.

Step Two: Adjust the Color
- In the Layers panel, click on the Create New Fill or Adjustment Layer icon and choose Hue/Saturation.
- In the Menu Bar, choose Layer > Create Clipping Mask.
- In the Hue/Saturation panel (PS: Properties panel), adjust the Hue and Saturation sliders until you find a color you like.
Note: Be cautious with the Saturation slider. Things can get real ugly real fast!
Note: If the element you are using has no color (mostly black or white), click on the Colorize box in the Hue/Saturation panel before moving the Hue and/or Saturation sliders.

Step Three: Mask Away Some of the Change
If your element has more than one color, like the flower I’m using, you may not want to apply the color adjustment to all the colors. The solution to this is a layer mask.
- Get the Brush tool.
- In the Tool Options, open the Brush picker and choose a round brush. Set the Size to 125 px, the Hardness to 50%, the Mode to Normal, and the Opacity to 100%.
- In the Layers panel, the Hue/Saturation layer should be active.
- Click on the layer mask of the Hue/Saturation layer to make it active.
Note: The layer mask looks like a little white box. You will know it’s active if it has an outline around it.
- The Foreground Color Chip should be black. If it isn’t, press the letter X.
- On the document, brush over an area of the flower to remove the color change.
I will brush over the center of the flower.

Step Four: Save As a Unique File
- In the Menu Bar, choose File > Save As.
- Enter a unique name and save as a PNG file.
- Close the original file without saving.
